 How-to
Soil Biology Testing for Farms: A Practical Guide
Last Updated: November 12, 2026
Quick Summary
Soil biology testing measures the living part of your soil, including microbial biomass, soil respiration, and organic matter, to show how well your ground can feed a crop. A chemical test shows nutrient levels, but biology shows whether those nutrients actually reach the plant. Start with a free field pass of five quick checks, then reserve lab panels for zones it flags as a problem.
- The free field pass covers five checks, including a slake test and a cotton-strip test, in about 30 minutes per zone.
- Run slake and cotton-strip tests at consistent soil moisture, since right after rain or mid-drought gives a false reading.
- Read lab reports in three passes: overall biological activity, individual soil health indicators, then limiting factors.
- Most practitioners justify the panel on the 10 to 20 percent of acres that consistently underperform.
- Confirm a biological trend across at least two sampling dates before changing a variable-rate plan.
Table of Contents
- Why Soil Biology Testing for Farms Changes Management Decisions
- Soil Biology Testing Methods: Field Observations and Lab Panels
- The Soil Sampling Procedure for Farms That Gets Usable Results
- Soil Biology Lab Report Interpretation: Turning Numbers into Actions
- Frequently Asked Questions
Why Soil Biology Testing for Farms Changes Management Decisions
Soil biology testing for farms measures the living part of your soil, not just its chemistry. Microbial biomass, soil respiration, and organic matter show how well your ground can feed a crop.
High phosphorus means little if soil structure is compacted and nutrient availability stalls. Microbial activity drives nitrogen cycling, and the rhizosphere is where roots trade sugars for minerals.
Soil Biology Testing Methods: Field Observations and Lab Panels
A field pass can be run first, with lab analysis reserved for areas it flags as a problem.
The free field pass: five checks in about 30 minutes per zone
- Slake test for aggregate stability. Drop a pea-sized air-dry clod into room-temperature water and watch for 10 minutes. A clod that holds together shows microbial polysaccharides binding particles; one that fizzes apart points to weak aggregation. Score three clods per zone as hold, partial, or collapse.
- Penetrometer or wire-flag test for compaction. Push a probe or stiff wire flag into moist soil. A hard layer at 6 to 8 inches is a plow pan, and compacted layers starve microbes of oxygen and root exudates.
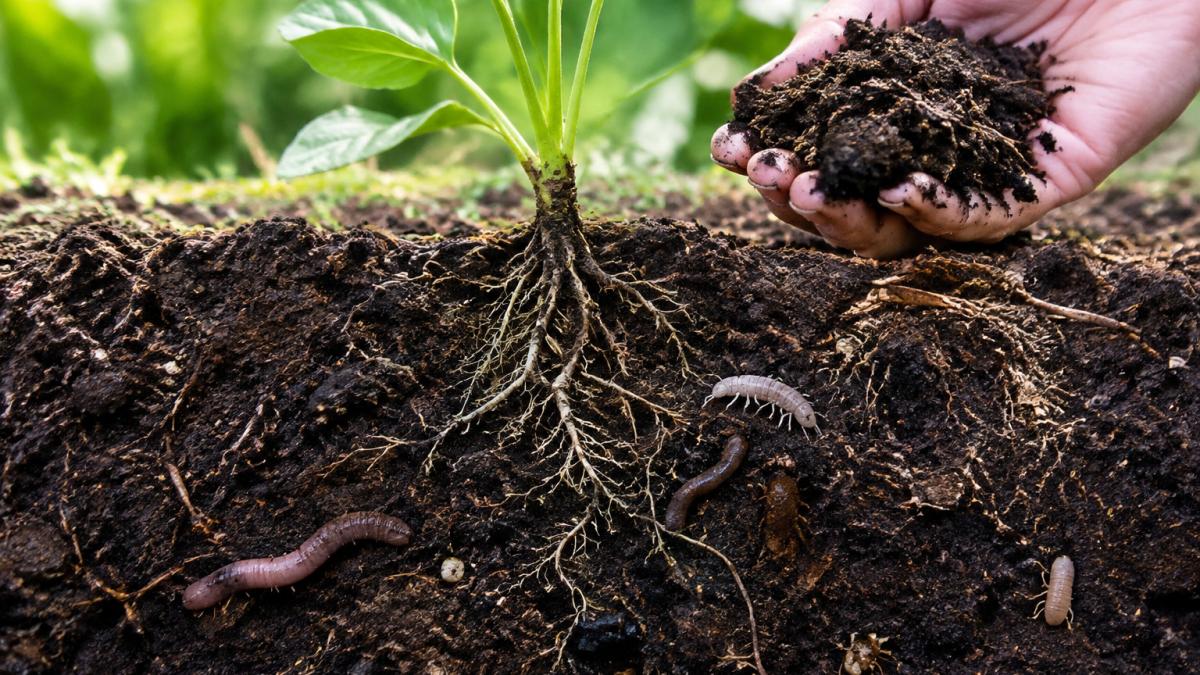
- Earthworm and macro-invertebrate count. Dig a 12-inch cube, break it over a tray, and count earthworms and arthropods per cube to compare zones and seasons.
- Root color and nodulation check. White, branching roots with pinkish legume nodules signal active rhizosphere exchange. Brown or rotten roots point to disease, waterlogging, or anaerobic conditions.
- Residue breakdown and cotton-strip test. Bury unbleached cotton or a mesh bag of residue at 4 to 6 inches and dig it up after about 30 days. Heavy residue remaining in warm, moist soil is a red flag.
Run the slake and cotton-strip tests at consistent soil moisture, right after rain or mid-drought gives a false reading.
What the lab panel actually measures
- Microbial biomass carbon estimates living microbial cell mass, usually in milligrams of carbon per kilogram of soil, the standing stock.
- Soil respiration measures carbon dioxide released over a set incubation, reflecting active metabolism. It is the flow, not the stock, and responds quickly to management.
- Organic matter and total organic carbon are the long-term substrate feeding microbes. They move slowly, so treat them as a trend line.
Pair the panel with a standard fertility workup (pH, cation exchange capacity, texture) so you can read biology against chemistry. A respiration number means little without knowing whether soil is compacted, waterlogged, or at a suppressive pH.
DIY kits versus full laboratory analysis
DIY kits are cheap and useful for tracking trends between full panels, but they trade precision for speed. Use kits to watch direction; use a lab panel to set a plan.
The cost-benefit case for a biological panel
If the field pass flags a compacted or low-respiration zone and the panel confirms it, a management change (reduced tillage, cover crop, organic amendment) often pays for the test within a season or two. If the panel comes back healthy, you have bought confidence to skip an input.
The field pass covers five quick checks before any lab money is spent.
| Check | What to do | What it signals |
|---|---|---|
| Slake test | Drop a pea-sized air-dry clod in water, watch 10 minutes | Holds together means microbial polysaccharides bind particles |
| Penetrometer or wire-flag test | Push probe or stiff wire into moist soil | Hard layer at 6 to 8 inches is a plow pan |
| Earthworm and macro-invertebrate count | Dig a 12-inch cube, break over a tray, count | Compare zones and seasons |
| Root color and nodulation | Check roots and legume nodules | Pinkish nodules signal active rhizosphere exchange |
| Residue breakdown and cotton-strip test | Bury cotton or residue at 4 to 6 inches, dig up after about 30 days | Heavy residue left in warm, moist soil is a red flag |
The Soil Sampling Procedure for Farms That Gets Usable Results
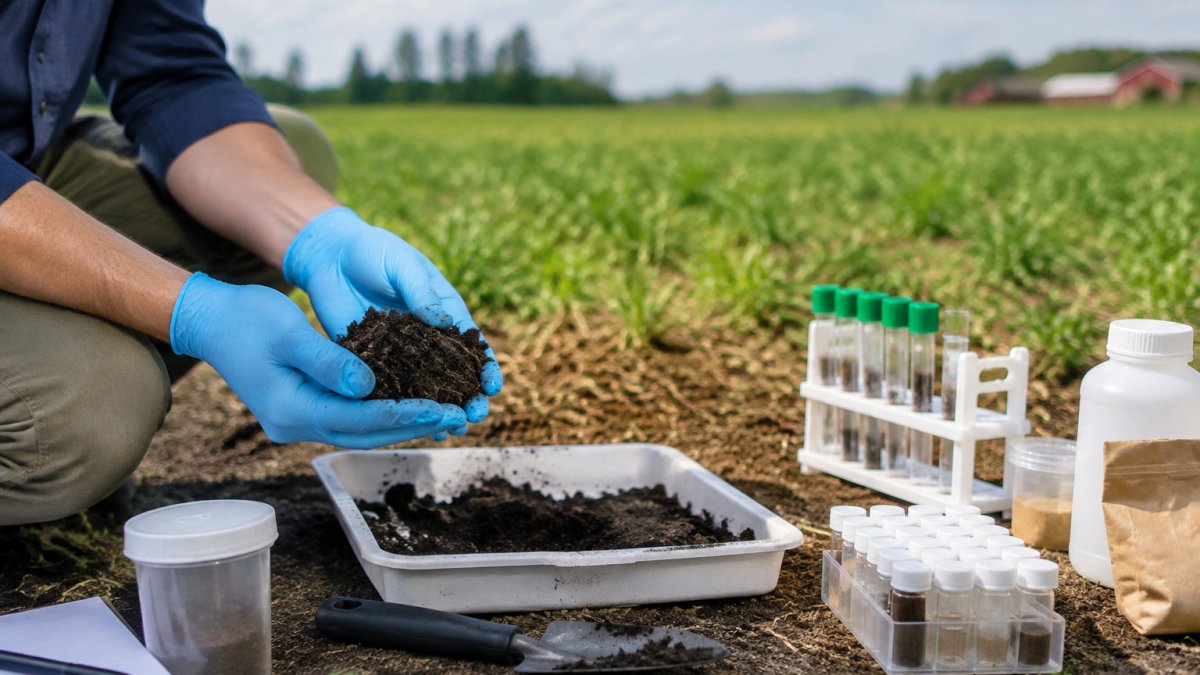
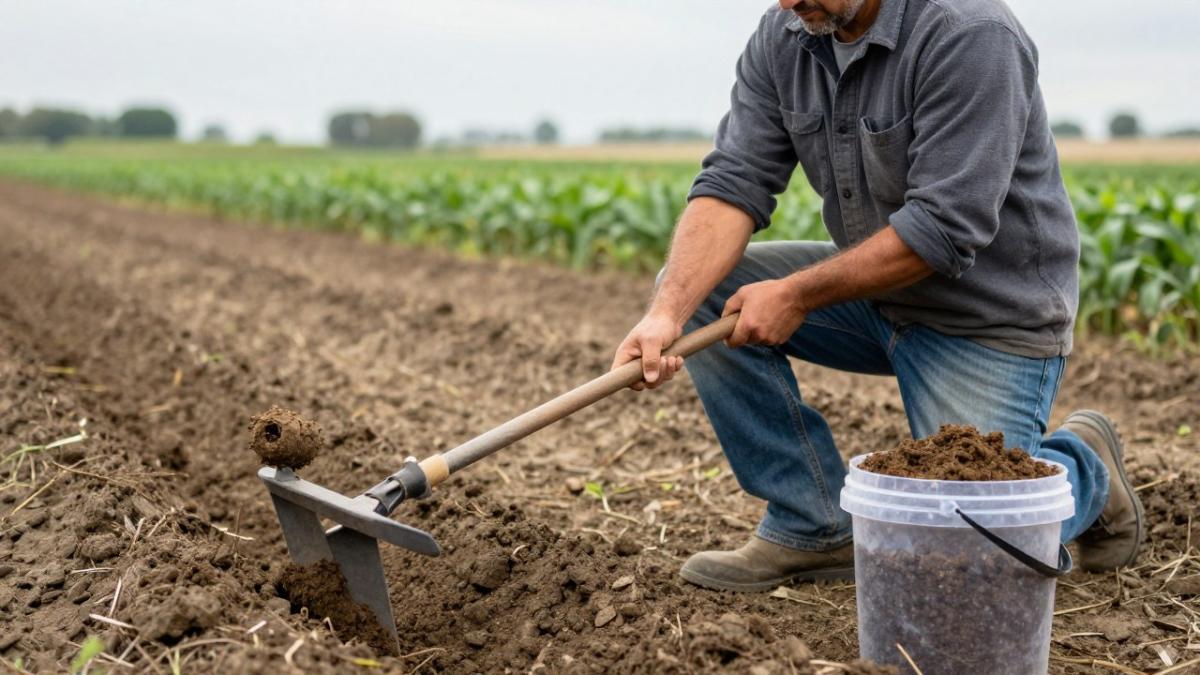
Sample collection affects result quality, since microbial populations vary across a field.
Soil Biology Lab Report Interpretation: Turning Numbers into Actions
Read a lab report in three passes: overall biological activity, individual soil health indicators, then the limiting factors. The goal is a short list of schedulable field actions, not a score.
Pass one: is the system active or stalled?
Start with the flow-and-stock numbers together. Microbial biomass carbon shows how much biology is standing in the soil; soil respiration shows how hard it is working.
- Low biomass and low respiration: the system is stalled. Look first at compaction, low organic matter, and recent tillage or fumigation.
- Low biomass but normal respiration: a small, hard-working population, often a stressed or low-organic-matter soil burning through limited substrate.
- Normal biomass but low respiration: biology is present but inactive, commonly from waterlogging, low oxygen, or off-range pH.
Pass two: read the indicators against your chemistry
A biological number only means something next to the chemical and physical results from the same sample.
- Soil pH outside roughly the neutral band suppresses microbial activity and nutrient availability together. Correcting pH is often the cheapest way to unlock biology you already have.
- Cation exchange capacity and texture set the ceiling on what a soil can hold. Compare zones of similar texture, not the whole farm against one number.
- Organic matter feeds the microbial population. If it is low, no amendment will hold biology for long until you build the carbon base.
Pass three: name the limiting factor, then pick one action
Match the limiting factor to a single, schedulable action:
- Compaction limiting oxygen: plan aeration or a deep-rooted cover crop before the next cash crop.
- Low organic matter limiting substrate: add a carbon source (compost, manure, or a high-residue cover crop) and cut tillage intensity.
- Low respiration with adequate biomass: review amendments, drainage, and pH before adding more biology.
Putting biological data into your farm management software
Biological results are only actionable at scale if they live in the same system as your yield, soil, and input records.
- Georeference your sample zones. Record each zone's GPS boundary so the lab result attaches to a map layer, not a paper form.
- Import results as a zone attribute. Load a spreadsheet of zone-level attributes, adding biomass, respiration, and organic matter alongside your chemistry data.
- Overlay with yield and input history. Compare low-respiration zones against yield maps and past fertilizer passes; the overlap is where a management change has the clearest payback.
- Build variable-rate prescriptions from the combined layer. Use biological and chemical layers together to set seeding, cover crop, or amendment prescriptions, rather than chemistry alone.
- Re-sample the same zones on a fixed schedule. Keep zone boundaries fixed so season-to-season change is real signal, not a sampling artifact.
Do not let a single season's respiration number drive a whole-farm prescription. Biology swings with moisture and temperature, so confirm a trend across at least two sampling dates before changing a variable-rate plan.
For a deeper walkthrough, see our guide on soil biology test results. If biology looks weak, our article on improving soil microbial health covers practical steps. To understand what testing reveals before you commit, read what soil microbial testing reveals.
If your current program has run unchanged for years, biological testing shows you what chemistry alone cannot.
Frequently Asked Questions
What does a soil biology test measure that a standard soil test does not?
A standard soil test measures chemistry: soil pH, phosphorus levels, potassium levels, and cation exchange capacity. A soil biology test measures the living component, including microbial biomass, soil respiration, and the balance of bacteria to fungi. Those numbers tell you whether nutrients already in the soil are being cycled into plant-available forms. Two fields with identical chemistry can perform very differently because one has active microbial activity and the other does not.
How much does soil biology testing cost, and is it worth it for a small farm?
Pricing depends on quantity, dates, and delivery, so request a quote from BioSys for your acreage. For a small operation, start with composite sampling across two or three management zones rather than every field. That keeps the spend contained while still showing where soil health indicators differ.
How often should a farm test soil biology?
Test at the start of a transition to establish a baseline, then repeat every one to two years on the same fields at the same time of year. Microbial biomass and soil respiration shift with soil moisture, temperature, and crop stage, so consistent timing matters more than frequency. Annual testing makes sense while you are actively changing fertilizer application, cover cropping, or tillage. Once soil health indicators stabilize, biennial testing is usually enough to track direction.